Get started in three steps
With Fimo, you can go from idea → live website in just a few minutes.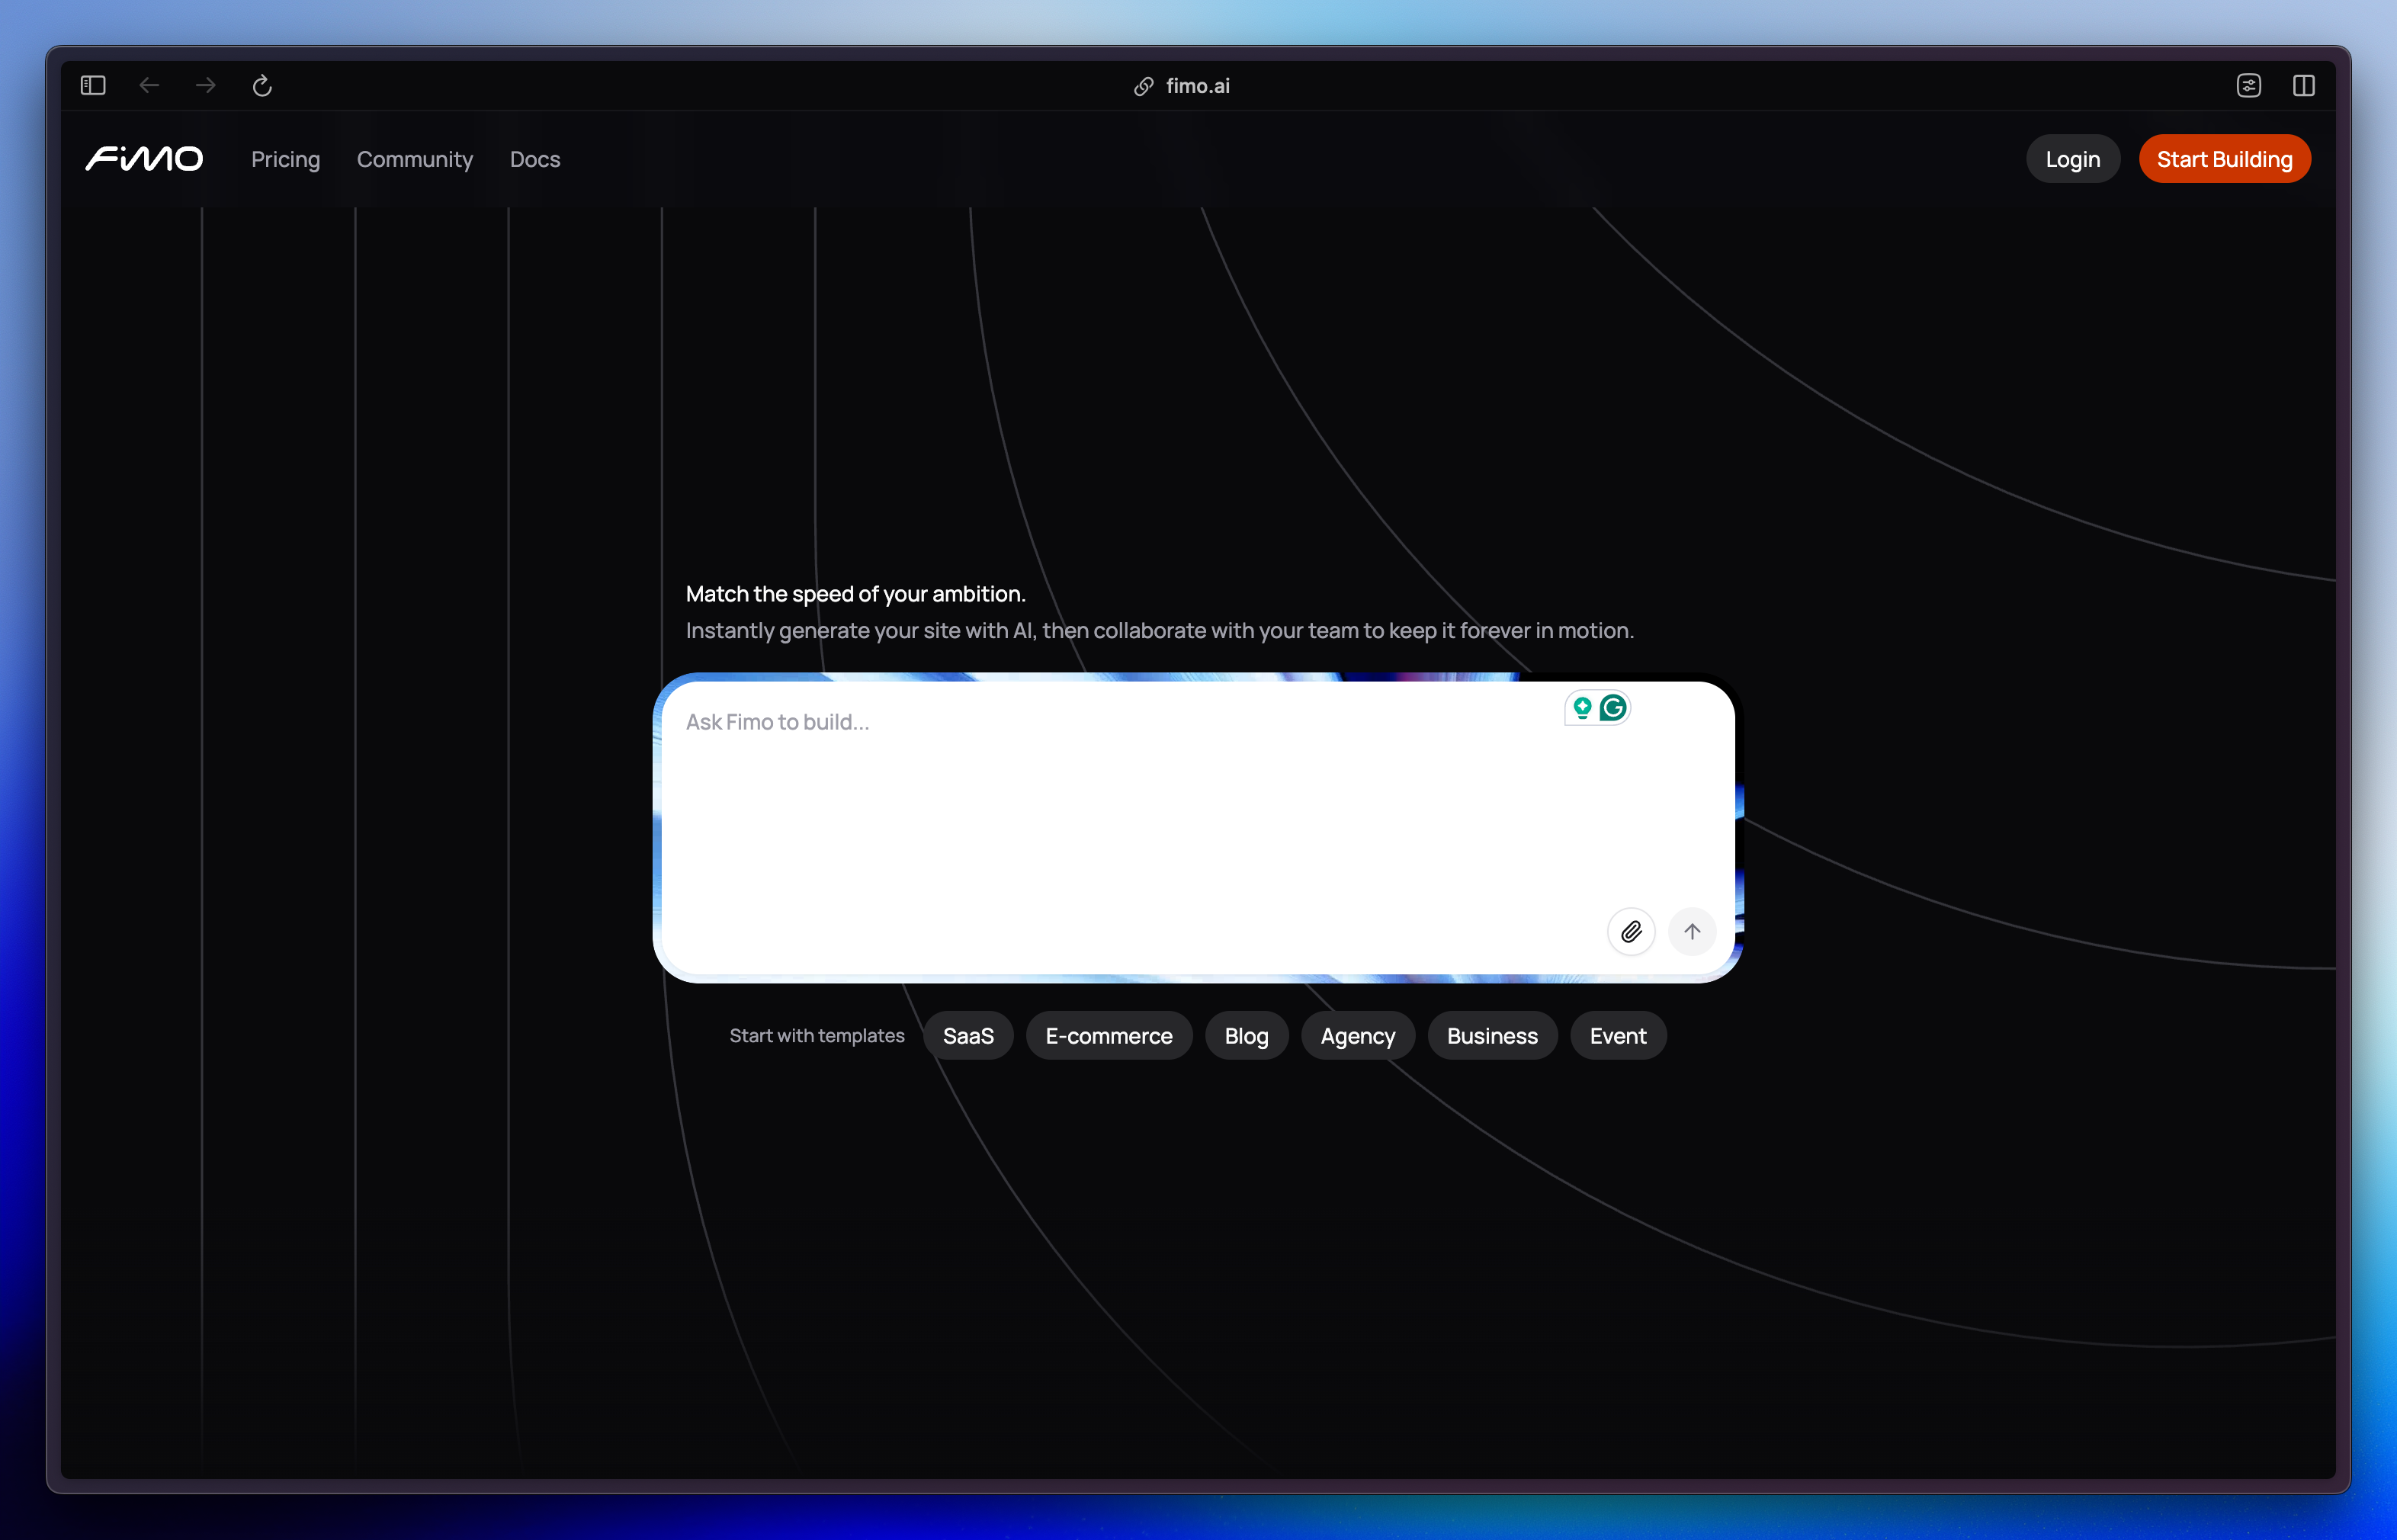
Step 1: Sign up and create your account
Sign up & create a project
Sign up & create a project
- Go to fimo.ai/signup.
- Sign up with Google, GitHub, or email.
- Once inside, click New Project to start building.
- You’ll be taken to a dedicated page with the chat at the center, this is where your website begins.
Write your first prompt
Write your first prompt
- In the central chat input, type your first prompt.
- You can use one of the suggested prompts below the field, or describe the website you want.
Step 2: Personalize your website
Add new pages
Add new pages
- Use the chat panel on the left.
- Type a prompt describing the page you want to add (e.g., “Add a Contact page with a map.”).
- Fimo will generate the page instantly and add it to your site.
Edit the content
Edit the content
- In the Preview, click the Edit button (or press ⌥ / Alt E on your keyboard).
- Click directly on any text to update it.
- Save your changes, no credits are used for editing content.
Edit the styles
Edit the styles
- In the Preview, click the Edit button.
- Select any component on the page.
- The chat panel will switch to a Style panel.
- Adjust fonts, sizes, margins, padding, backgrounds, and more.
Update your site name and URL
Update your site name and URL
- At the top of the editor, click the Project name dropdown.
- Select Project Settings.
- Update your site name, community visibility, etc from there.
Step 3: Go live
Publish your website
Publish your website
- Click the Publish button in the top-right corner.
- Fimo will deploy your site automatically.
- Share your new live link — you’re online! 🎉
Next steps
Now that your site is live, here are the top features to explore next:Write Content
Learn how to create, edit, and translate content at scale with Fimo’s AI editor.
Customize Style
Explore the Style panel to fine-tune fonts, colors, and layouts.
Add Code Examples
For advanced customization, dive into your website’s code directly.
Generate Visuals
Use AI to generate unique images and add them to your media library.
Need help? Check out our full documentation or join the community.